![]()
VPN Installation Guide
You need to download and install the SoftEther VPN Client software. You can get it free from their official website (https://www.softether.org).
Install it and run. You need to create a local virtual network interface adapter. After that create a profile with following parameters.
- Hostname: svpn.mrt.ac.lk
- Port Number: 443
- Virtual Hub: Select Accordingly (Select it from the drop-down button)
- Auth Type: RADIUS or NT Domain Authentication
- Username and Password are same as your UoM account credentials (LMS, Moodle, UoM_Wireless, UoM Email)
- Now you can connect to the VPN.Once you connected please open a command prompt (cmd) with Administrative privileges and issue the following command (optional)
route -p ADD X.X.X.X MASK M.M.M.M 10.8.140.254
- Now your would able to access your server through our vpn system. Check the connectivity by pinging to your server. Please note that all the above steps are only a one time work.

Download and Install SoftEther VPN Client
- Download SoftEther VPN Client software from their official site https://www.softether.org/

- Click on Download SoftEther VPN link.
- Select Component : SoftEther VPN Client
- Select Platform : Linux
- Select CPU : Select the appropriate CPU from the Drop down
- Click on the appropriate downloading link based on the version of the software.

- Extract the downloaded tar.gz file. Here after the extracted folder referred as <folder_1>
- Navigate to <folder_1> and open a terminal.
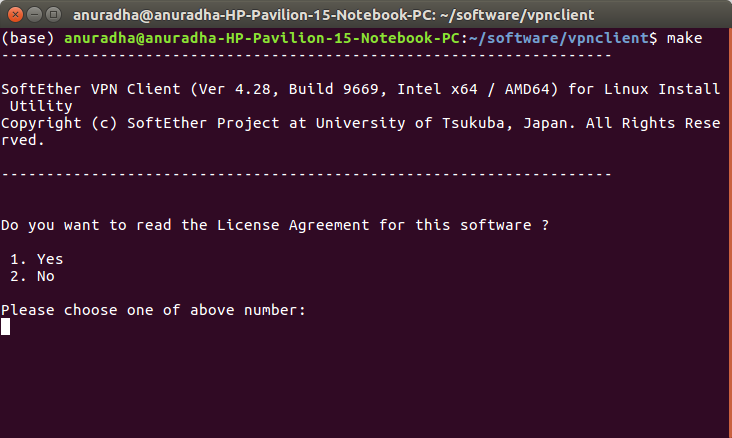
- Execute
makecommand and accept all license agreements by entering the number relevant to “Yes”.
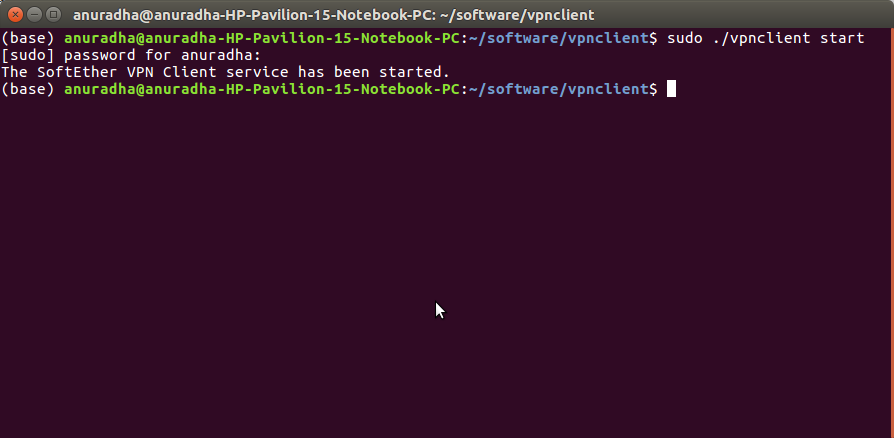
- After the completion of
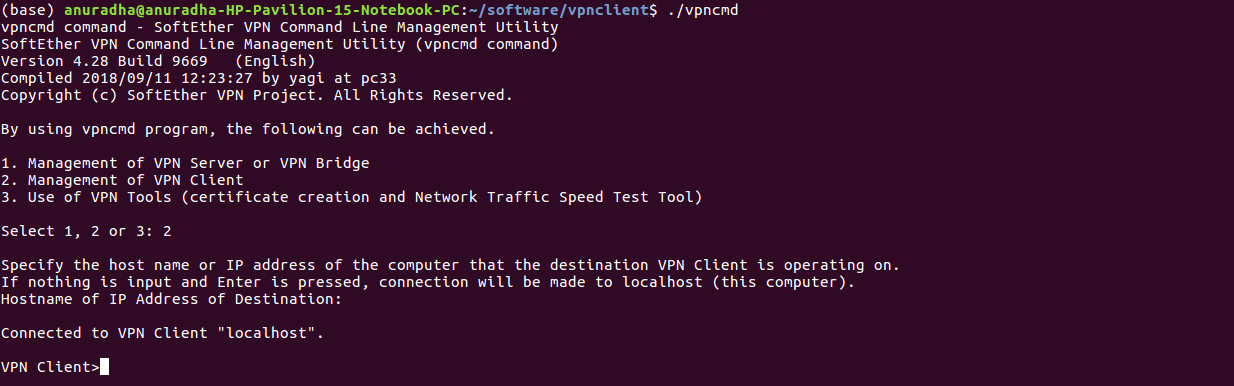
makecommand process, start the vpn client usingsudo ./vpnclient start - Then you will get the following output.
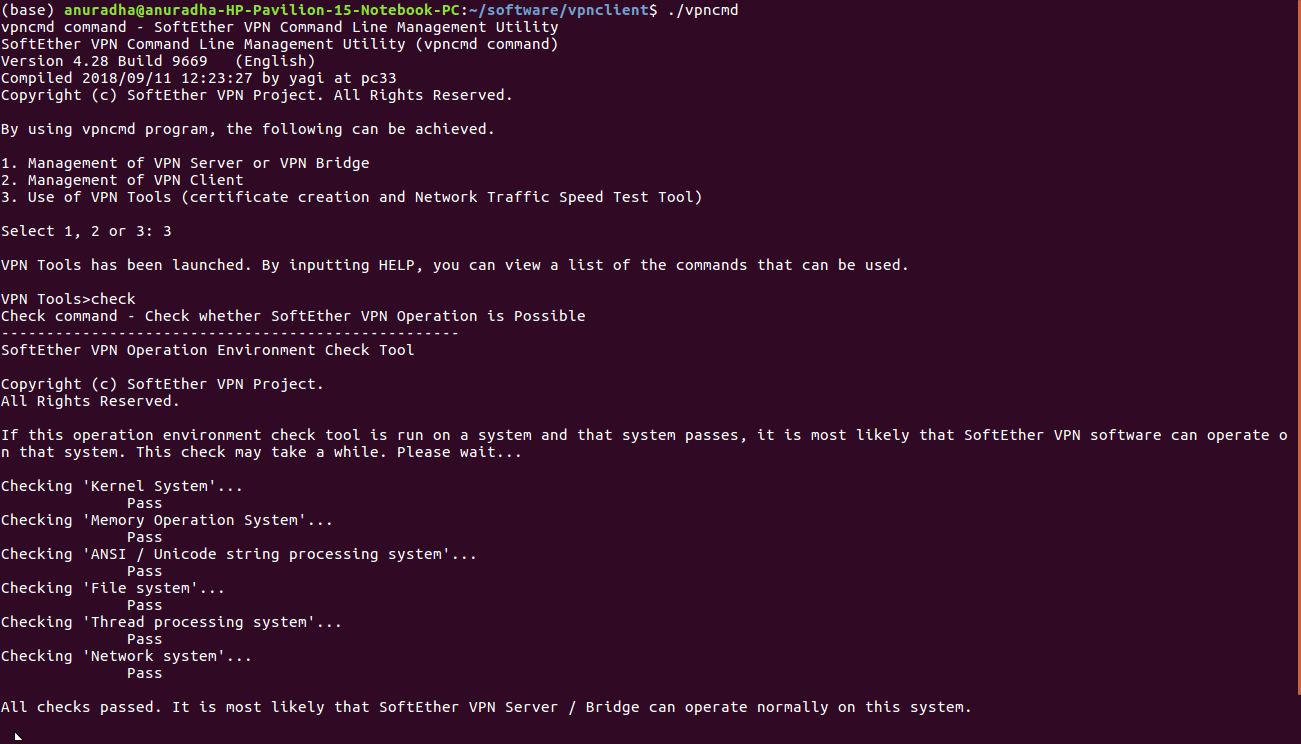
- Execute
./vpncmdand select No3to enter toUse of VPN Tools (certificate creation and Network Traffic Speed Test Tool)option. - Then run
checkcommand. - If all tests are passed, you are good to go.
Configure SoftEther VPN Client
- Execute
./vpncmdon a terminal opened inside <folder_1> - Select No 2 to enter to the
Management of VPN Clientoption. - Press Enter when you are asked for
Hostname of IP Address of Destination - Then you will connect to the
localhost.
- Create a virtual interface to connect to the VPN server.
NicCreate <name for virtual interface>
eg : NicCreate vpn_se
- Create an VPN client account using the following command.
AccountCreate <name>
In this case : AccountCreate CITeS
- Then setup the account with your details.
Destination VPN Server Host Name and Port Number:<VPN IP address>:<SoftEther VPN Port>
Destination Virtual Hub Name: <Hub Name>
Connecting User Name: <Username of LMS, Moodle, UoM_Wireless, UoM Email>
Used Virtual Network Adapter Name: <Created virtual interface’s name>
Destination VPN Server Host Name and Port Number:svpn.mrt.ac.lk:443
Destination Virtual Hub Name: <Enter the appropriate one according to the following drop down>
- Please Note that Virtual Hub Name is Case Sensitive
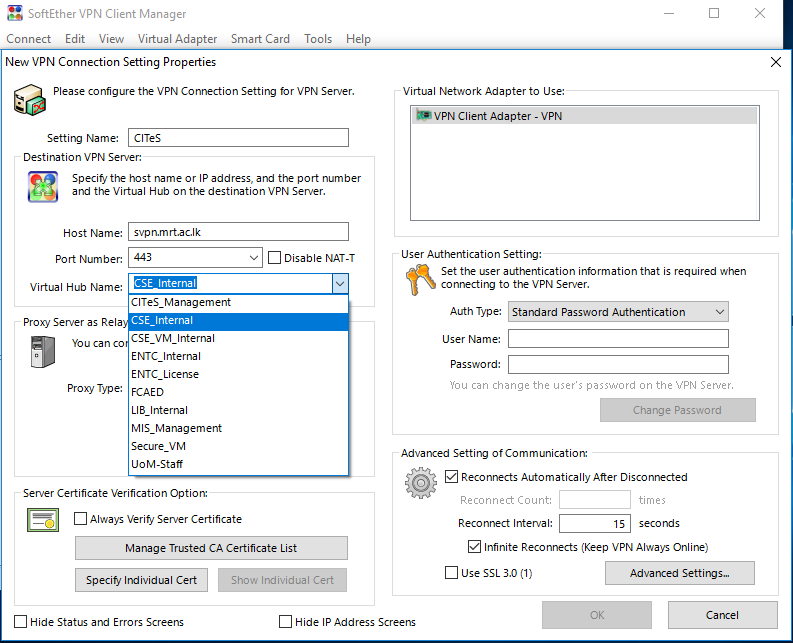
Connecting User Name: <UoM Username>Used Virtual Network Adapter Name: vpn_se (the one created in above step)- You will get
The command completed successfullymessage if you do it correctly. -
Setup a password to the created account.
AccountPassword <UoM Username> - Set a password and confirm it. (Please note that you need to enter your uom account password)
- For
Specify standard or radius:giveradius - Now you can connect to the SoftEther VPN clinet account through the created account.
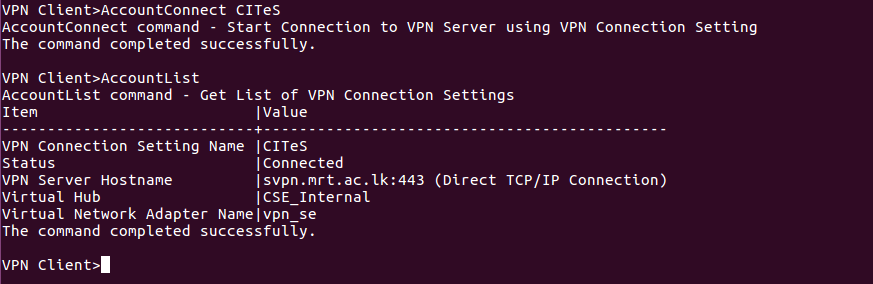
- Issue the command
AccountListand check the connectivity. If you get Connected status it is good to go for the next step.
Adding Routes to the Routing Table
- Open a terminal and issue the command
sudo ifconfig. Now you should see the virtual network adapter you created earlier. But you do not have a ip address for it. - Issue the command
sudo dhclient <virtual_network_adapter_name>eg:sudo dhclient <vpn_vpn_se> - After few moments you will get an ip address from the VPN Server.
- Then issue
sudo netstat -rncommand to see the routing table. You need to add a static route here. sudo ip route add <gateway of the ip range of your virtual network adapter>/<subnetmask> via 10.8.140.254
- Please note that above steps are optional (Contact CITeS for Support). Except the last route adding step, all of the above steps are one time work.
Go to "System Preferences" > "Network".

Click on + button

Select Below settings for the pop-up window and click "Create".

Select the newly created interface click on add configuration on Configuration menu.

Give a name for your configuration and click Create.

Enter below settings for Server Address and Account name.

Click on Authentication Settings and Enter your UoM password for the password field. Enter "UoM@2022" without double quotation for the Shared Secret. then press OK.
